


Sometimes a website won’t open, not because it’s broken, but because it’s blocked. That’s where miniProxy comes in. It’s a lightweight, open-source tool that acts like a middleman between the browser and the internet, helping people access restricted sites and browse with more privacy.
Welcome to miniProxy, a simple, fast, and no-nonsense solution. No need for fancy software or technical know-how.
Everything below walks through the basics in plain terms, so anyone can get it running without stress.
What is MiniProxy?
miniProxy is a free, open-source web proxy written in PHP that allows users to browse the internet anonymously through a simple web interface.
It’s mainly used to bypass restrictions or access blocked websites without revealing your real IP address.
How it works?
When you enter a website URL into mini Proxy, the proxy server fetches that site’s content and displays it to you.
Instead of connecting directly to the target website, your browser communicates with the proxy, and the proxy communicates with the website, keeping your identity hidden and helping you access restricted content.
Key Features of miniProxy
- Lightweight and easy to deploy (single PHP file)
- Open-source and free to use
- No installation needed, just upload to a server
- Helps bypass content filters and restrictions
- Hides your IP for basic online anonymity
- Works on most devices with a browser
- Minimal server requirements (PHP + cURL)
Why Use miniProxy vs VPN or Other Proxies?
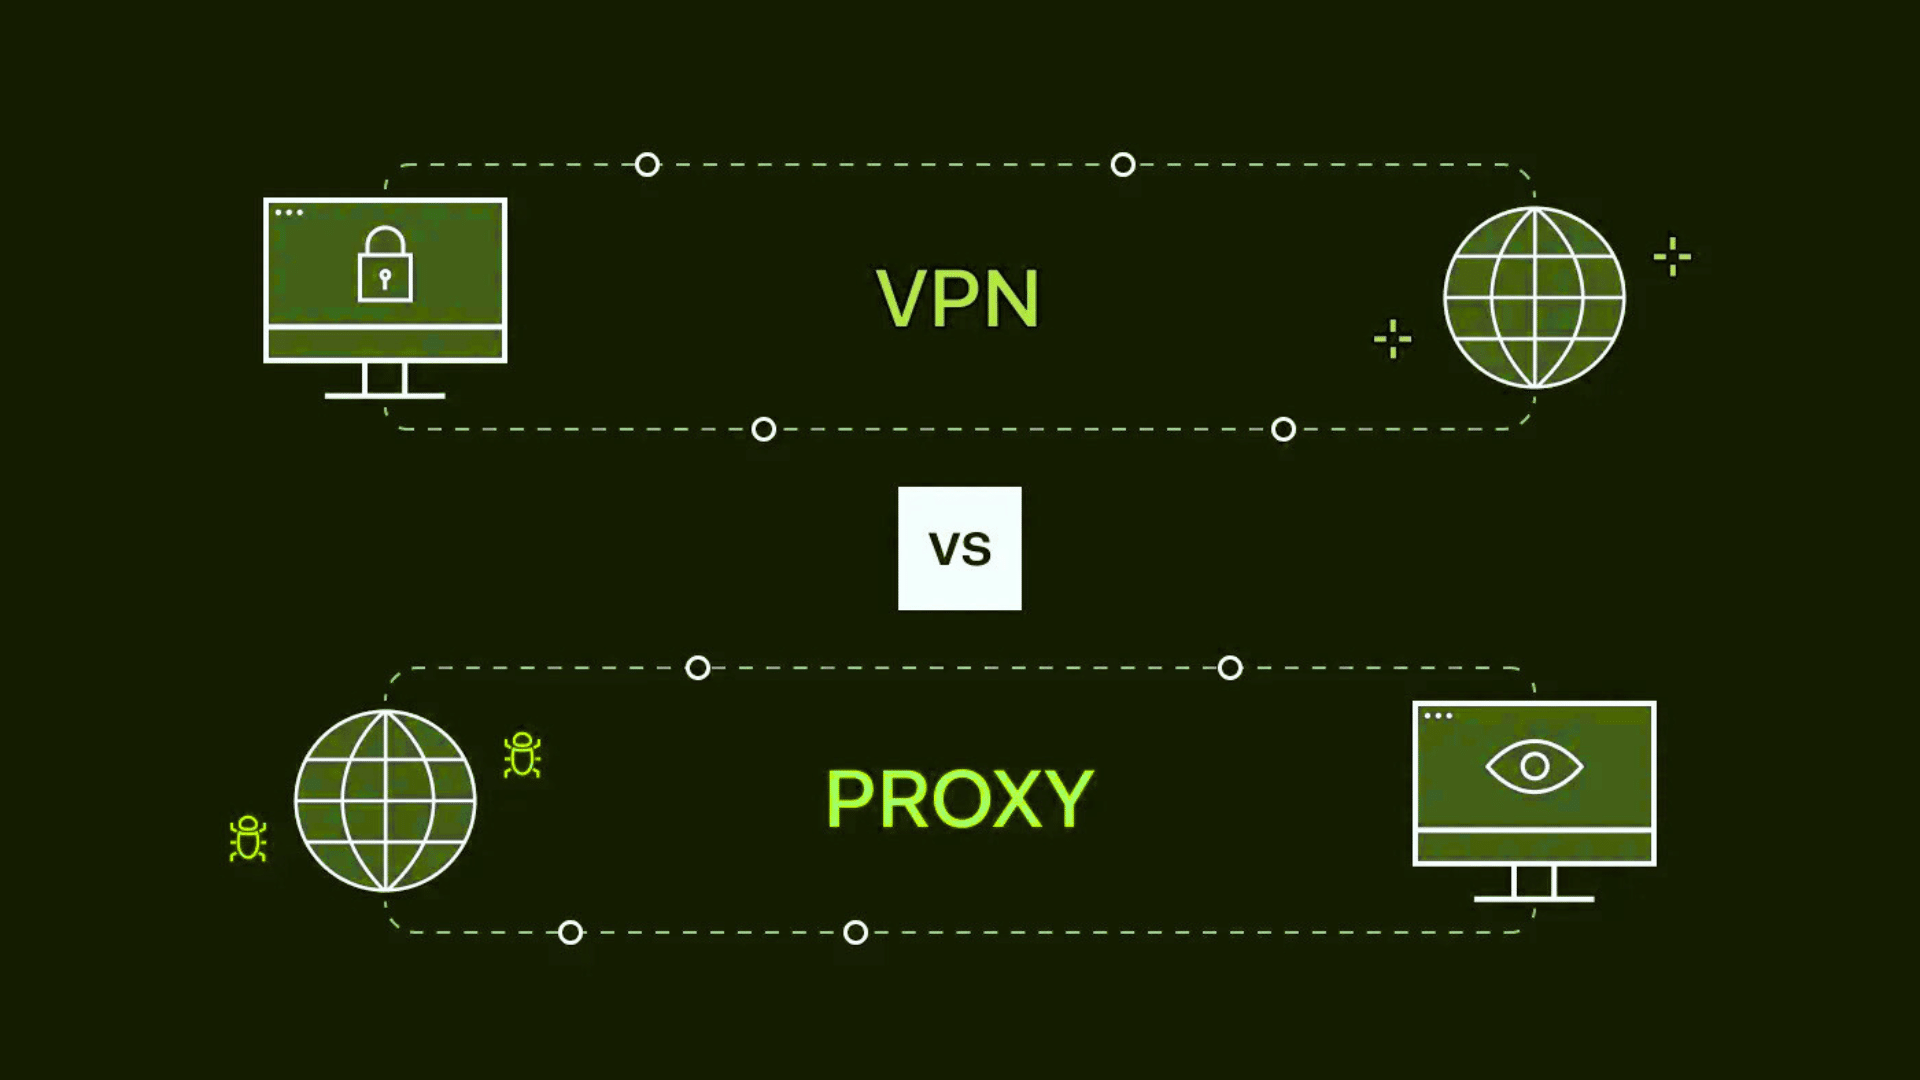
miniProxy is a simple alternative to VPNs and other proxy tools, ideal for quick and lightweight use.
Unlike VPNs, it doesn’t require installation or sign-up, just upload the PHP file to a server and start browsing. It helps bypass filters and access blocked websites by hiding your IP address, making it useful for casual privacy or testing.
While VPNs offer stronger encryption and better protection, mini Proxy is much easier to set up and uses fewer resources.
However, it’s not recommended for secure or sensitive browsing, as it doesn’t encrypt traffic in the same way a VPN does.
How to Set Up miniProxy (Step-by-Step)
Setting up miniProxy is surprisingly simple and doesn’t require any advanced tech skills. Just follow a few basic steps, and it’ll be up and running in minutes.
Step 1: Get the miniProxy File
- Visit the official miniProxy GitHub page.
- Click on the miniProxy.php file and download it to your computer.
- This is the main script that powers the whole proxy.
Step 2: Find a Hosting Service
- You need a hosting provider that supports PHP (like Hostinger, InfinityFree, or 000webhost).
- Sign up for a free or paid account, depending on your needs.
- Ensure the hosting provider allows you to upload files and run PHP scripts.
Step 3: Upload the File
- Go to your hosting control panel (such as cPanel) or use an FTP tool like FileZilla.
- Upload miniProxy.php to the main folder, usually named public_html or htdocs.
- This makes the file accessible for opening in a browser.
Step 4: Open mini Proxy in Your Browser
- In your browser, type your website URL followed by /miniProxy.php.
- For example: https://yourwebsite.com/miniProxy.php.
- You’ll now see a search box where you can enter any website address.
Step 5: Start Browsing
- Type the web address you want to visit in the box (like https://youtube.com).
- mini Proxy will load that site for you while hiding your real IP address.
- You’re now browsing anonymously through your own proxy!
Using Public miniProxy Websites
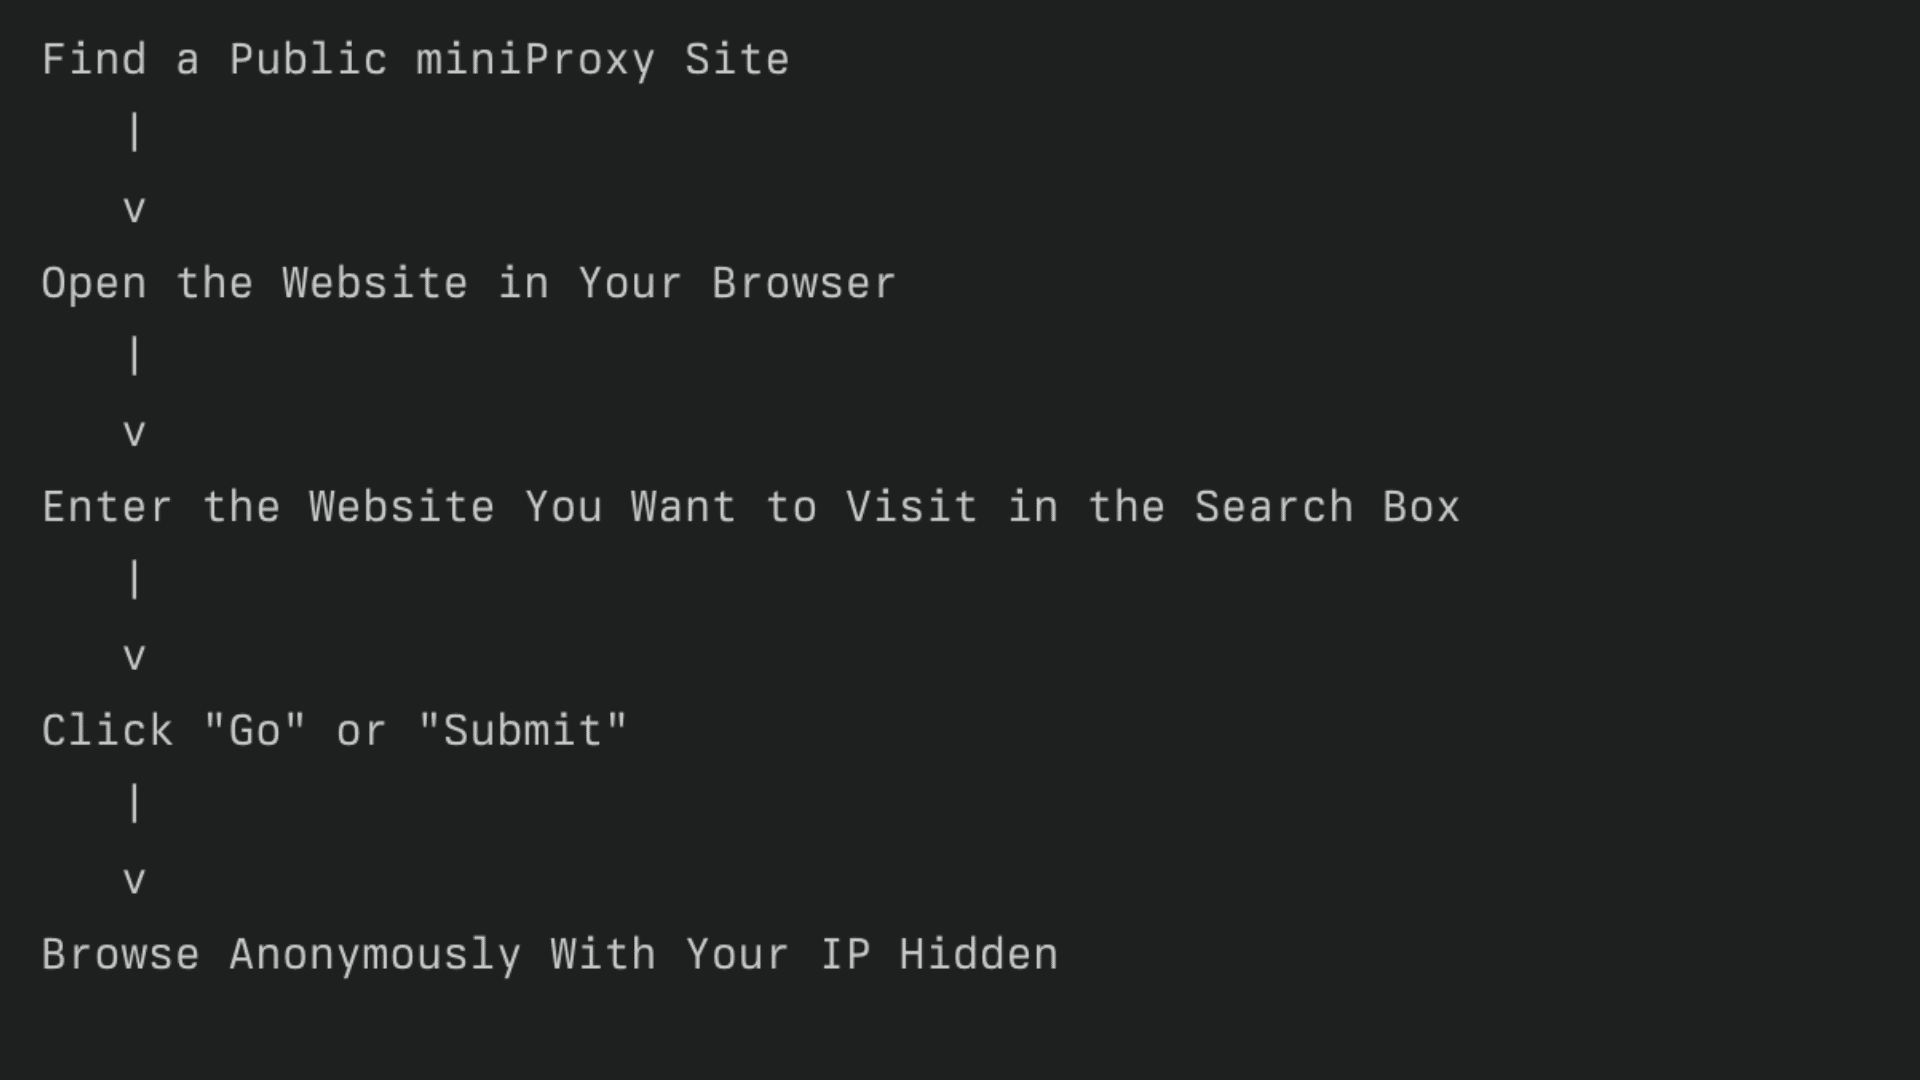
If you don’t want to host miniProxy yourself, you can use public sites where it’s already set up. One trusted example is vepro.hocke.eu/proxy, where you can simply paste a URL and start browsing anonymously.
Pros & Cons of Using miniProxy
mini Proxy offers a lightweight way to access blocked websites and browse with basic privacy. While it’s easy to use, it comes with a few trade-offs worth considering.
| Advantages | Disadvantages |
|---|---|
| Easy to set up and use | No full encryption like VPNs |
| Free and open-source | Limited support for JavaScript-heavy websites |
| Lightweight – just one PHP file | Not suitable for secure or sensitive browsing |
| Works on any device with a browser | Some websites may not load correctly |
| Great for bypassing simple web filters | Cannot handle streaming or login-heavy sites |
| Customizable for personal use | Your host can still see the traffic you browse |
Security & Legal Considerations
miniProxy provides a simple way to hide your IP address, but it does not offer complete security like VPNs.
It doesn’t encrypt your connection, so any data sent over HTTP (non-HTTPS sites) can potentially be seen by your hosting provider or anyone monitoring the network.
That’s why it’s best used for casual, non-sensitive browsing, never for logging into personal accounts or submitting private information.
Here are a few key points to keep in mind:
- No end-to-end encryption like VPNs
- Hosting providers can view traffic logs
- Not safe for login, banking, or personal data
- Bypassing filters may violate school, work, or regional policies
- Legal in many places, but how you use it matters
Advanced Tips & Customization
1. Edit the Configuration: Open miniProxy.php and customize settings such as the default homepage, HTTPS handling, or toolbar visibility.
2. Add a Password for Access: Use .htaccess and .htpasswd to require a username and password before anyone can use your proxy.
3. Restrict by IP Address: Allow only specific IPs to access mini Proxy by configuring server-level rules (like in .htaccess or firewall).
4. Enable HTTPS on Your Server: Install an SSL certificate (e.g., with Let’s Encrypt) so all proxy traffic runs over a secure connection.
5. Whitelist or Blacklist Sites: Modify the PHP code to block or allow specific websites based on your needs for privacy or control.
Conclusion
miniProxy isn’t a fancy tool, and that’s precisely the point. It’s simple and built for one thing: getting around blocks and letting people browse with fewer restrictions.
From downloading the PHP file to uploading it to a basic hosting server, every step is easy to follow. Even those without tech skills can get it running in minutes.
It’s not a replacement for VPNs when it comes to security, but it works well for casual browsing, testing, or skipping school and work filters.
Got thoughts or suggestions? Drop a comment below.